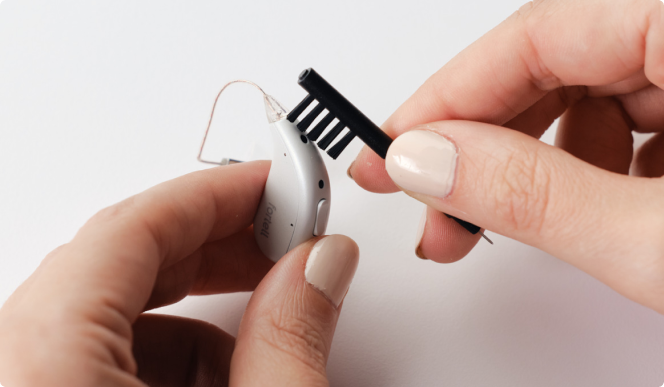
Keeping your hearing aids clean is essential for clear sound and reliable performance. Because even a small clog can affect audio quality, use the cleaning brush to clean the domes at least once a week, even if they look perfectly clean. A quick brush prevents clogs before they start.
Cleaning the microphone port
If you purchased your devices before February 2026, they came with specialized adhesive cleaning stickers. Missing yours? Contact us and we’ll gladly send you a pack!
How to use the cleaning stickers:
Peel: Carefully remove the paper backing from one sticker (heads up, they are very tacky!).
Press: Press the sticky side into a microphone port, using your fingernail to gently work it into the opening.
Remove: Peel the sticker away to lift out any trapped debris.
Repeat: Do this 2 to 3 times for each microphone port.
Cleaning and replacing the domes
You may need to replace the domes if they start to discolor or feel brittle. Grip the wire firmly and pull the old dome off. Push the new dome on, making sure it is secure so it does not fall off.
Replacing wax guards
Your hearing aids come with a set of wax guard replacement tools. We recommend replacing the wax guards every 4 weeks, though this can vary depending on how much earwax you produce.
How to replace the wax guard:
Remove the dome: Grip the speaker wire firmly and pull the rubber dome off. You may need to wiggle it or apply a bit of force.
Remove the old guard: Insert the empty black end of the tool into the old wax guard, then pull it out.
Install the new guard: Flip the tool around, insert the white end with the new wax guard into the end of the receiver, and pull the tool out. The new guard will stay in place.
Replace the dome: Push the dome securely back onto the receiver.